Tuesday, 13 May 2014

gladiator and helmet

For UV mapping  the model need to unfold. Then take this unfold object to Photoshop and texture there. After that the texture map will take it into Maya then hyper shade  to he 3d model


In this picture the models are textured with UV map checker  This is for to check the texturing.If the mapping is not perfect the box will not looks perfect.


I am showing in this screen shot the helmet and its UV Texture editor and Unfold version of helmet, I done the texture using Photoshop. The reflection of light in this model is done through hyper shade


I am showing here is my gladiator 3d character development through the modeling process.Before the starting of modeling I have been researching on 3d character modeling. This is my first character model so I am trying to get the best from me.


I start to researching on gladiator 3d models in web I am showing here two images from my research. proportions of the characters from this images is very good I will try my best to get proportions of the human.


For character design first I need reference images. same as the way that I created helmet before. I have the reference image from google,


Now I have to split this images into three parts then I going to ad this to maya image plane. the way I am going to set up the image plane is same as helmet design

Thursday, 23 May 2013

END YEAR SHOW PROJECT

19/4/13

This is just my home made 3D design for a practice to make my street lamp. I didn't use any of the reference image to create this. just straight away in maya and made this model with polygon.
This is the image of ful light model with out the LED I duplicated wings.now I goning to hyper shade and color this model
This image is showing after the texturing I added the LED light this will glow. But I dont actually know how to glow objects in maya so I try to find a tutorial in internet.

http://vimeo.com/19419930

This link above will go to the tutorial and that tutorial help me to glow the LED light. also I try to composite this model with real photograph.
http://vimeo.com/18536683#at=0 This tutorial is for that composition.With the help of this tutorial I understand that how I can add this model to real images in maya.
This is just I created in maya I took this photograph with mobile and add my model to it I always try to change the light direction of the object and its color according to photograph.

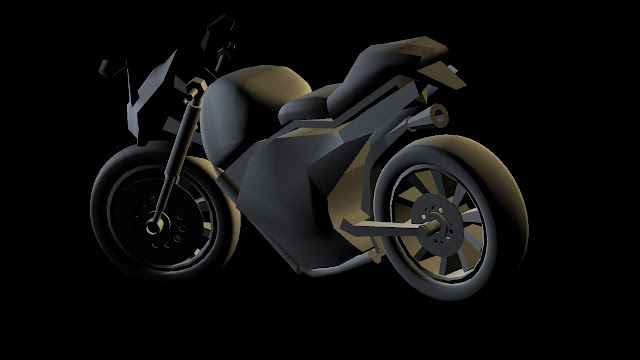
This is just a modern bike rendering. I created this model for testing maya mentelray fro my project. In street light design i used maya mental ray materials for rendering and texturing my model.


Wednesday, 22 May 2013

END YEAR SHOW PROJECT

27/02/13

today I started with making a presentation on end of year show. Basically what  I making is exploring different ideas and showing how I develop through the project. The presentation was good for me to start with some idea.First years presented their presentation.every one doing different type of ideas but they are stick with one idea in their mind.Neil want to explore 5 different ideas or theme to research other than one specific also for the academic research I have to look the theory of my idea not only tutorials.I will add my presentation here.

second years had more game and character design ideas but I would  like develop skills and ideas on product design field.


at this point I am thinking of to make a car design in 3D model but I don't know how much time it will take to make one because its Little complex.I am more intrested in 3D modeling . 

END YEAR SHOW PROJECT

18/4/13
To day I continued my 3D model in Maya to make the led light bulb inside the wing. I will only duplicate after this
This is the Light creation with polygon sphere then I used booleans tool to create the holes in side the model.Then I extruded an inside area of each hole.
I will add the light effect inside each hole.But I never light up (glow) an object inside the Maya so I have to find some tutorial to do that after i duplicate this finished wing.

I just duplicated it for a look, I want to know how the light is looking after duplicate the wing, I was convinced the model is looking good perfect for me at this point.

This is a closer look and I created a connection between wings and pillar with a long tube also wings to tube with a small connector. Now I want to connect between tube and the small connector. I will use  merge vertex tool for that then I merge this small connector with the tube. I wont connect this small connector with wings I will just combine them together because the wing is already smoothed so it will take large amount of time to make connection inside the wing.  


END YEAR SHOW PROJECT

17/04 /2013
After half term today I stated my 3D model in maya with the concept sketch as a reference, I am not making this concept sketch as image plane to model this street light from that. I think that I dont need a image plane to make this street light.
The above image is my street light pillar that i created in Maya. I used curves and surface modeling to create this pillar.I used ep curve tool from maya create menu to create the curved shape and later I converted this model to polygon for easy to use.now I want to ,make the wing I thinking to make one wing and duplicate that to other side so I want to finish every detail in this first wing model.

This is wing model that i made using polygon in Maya I try to use Ep curve tool but that's not too good to look.Then I created this polygon cube and made that into the shape of my street light wing.then I smooth this model. I tried to use different level of smoothness until i am satisfied. 

The curve inside the wing is created with soft selection but that didn't look good enough  for me so I asked Neil for any other way to curve this. Then he told me that I can use deformation tool for curving the model then I used that.
In this screen shot I am using deformation tool to perfect my design. 


END YEAR SHOW PROJECT

21/3/13

To day I continued my work from yesterday. Today I will make my concept sketch in Adobe Illustrator and try to add color on it.I started my concept sketch in illustrator with my sketchbook drawings. Illustrator is for vector creation but i like to use it for this concept design.

This is the final sketching that I finished in illustrator.I ask to every one in my class for opinion every one like the design including Neil.In this image I explains How my design will work as a street light. I added solar panel on the top of the wings so this way it is easy to reach sunlight on this solar panels also this is the main source of energy for this street light design but i think it is safe to connect with normal power source's.This solar powered street light will have LED lights for reducing the amount of energy. This LED light will last 10 times longer than normal bulb also less cost for maintenance  

Advantages 

Low power consumption and long and predictable lifetime: The lifetime of LED street lights is usually 10 to 15 years, three times the life of current technologies adopted. The much less frequent need to service or replace LEDs means low maintenance cost.

  • Dimming: LEDs can be dimmed when less street lighting is needed, such as late at night, and at dusk or early dawn.
  • Small package size and weight
  • More accurate color rendering: The color rendering index is the ability of a light source to correctly reproduce the colors of the objects in comparison to an ideal light source.
  • Quick turn on and off: Unlike fluorescent lamps, which take time to heat up once switched on, LEDs come on with full brightness instantly. Unlike mercury vapor, metal halide and sodium vapor lamps (commonly used in street lighting), LEDs do not have a problem restarting immediately (hot ignition) following a brief power failure or inadvertent turn off.
  • RoHS compliance: LEDs don't contain mercury or lead, and don't release poisonous gases if damaged.
  • Less attractive to nocturnal insects: Nocturnal insects are attracted to ultraviolet, blue and green light emitted by conventional light sources.
  • Fewer electrical losses: All other types of lighting (except incandescent) require ballasts, additional electronic and/or electromagnetic components, in which some power is consumed.
  • Optically efficient lighting equipment: Other types of street lights use a reflector to capture the light emitted upwards from the lamp. Even under the best of conditions, the reflector absorbs some of the light. Also for fluorescent lamps and other lamps with phosphor coated bulbs, the bulb itself absorbs some of the light directed back down by the reflector. The glass cover, called a refractor, helps project the light down on the street in a desired pattern but some light is wasted by being directed up to the sky (light pollution). LED lamp assemblies (panels) do not require reflectors and can be designed to provide the desired coverage without a refractor.
  • Higher light output even at low temperatures: While fluorescent lights are comparably energy efficient, on average they tend to have lesser light output at winter temperatures.
This is the advantages of LED light so its very good for today street lights.

END YEAR SHOW PROJECT

20/03/13

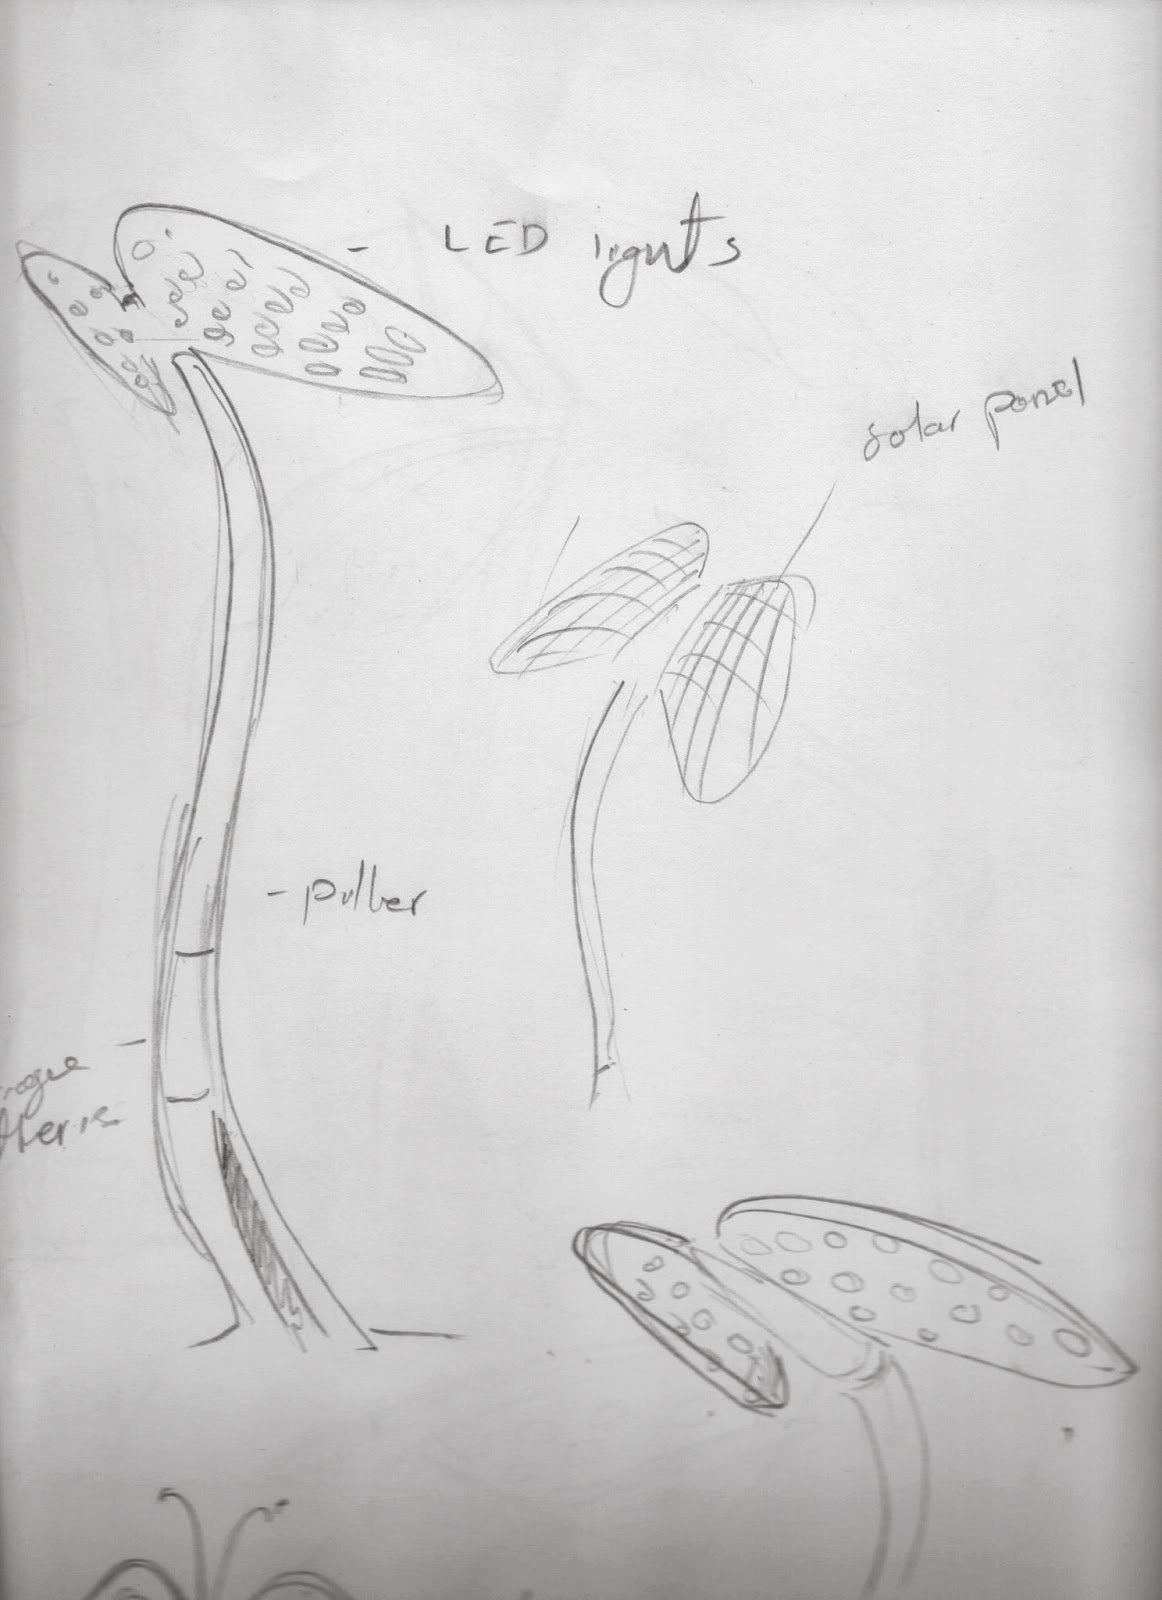
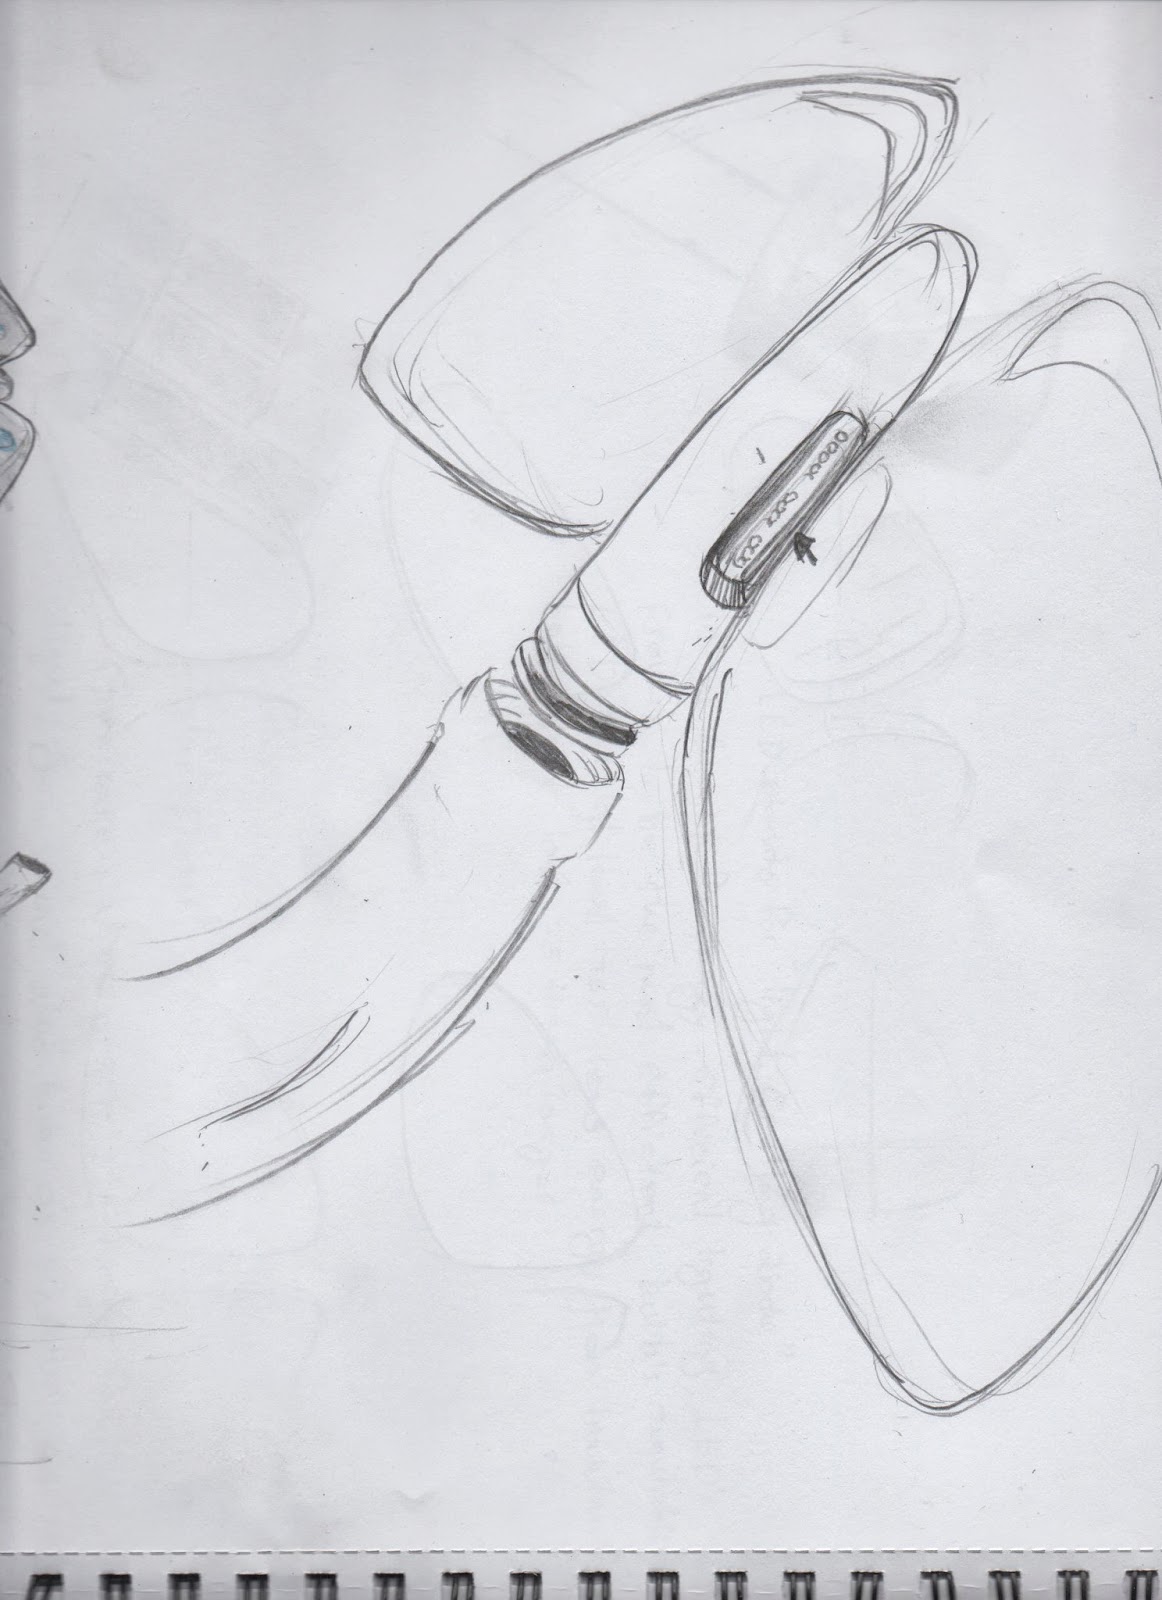
To day I was still working in my sketch book trying to sketch some ideas for the street light design.I am drawing some of the designs from my mind.I ask Neil to have a look at this ideas and he like my butterfly design street light.This design is inspired from butterfly wing. This street light design will work with the solar panel. Neil also like my one more idea that design is powered by wind turbine. I like the butter fly design more than the wind turbine powered design I showing below the scanned images of my concept sketch.


This is the butterfly design I selected this design as my final I have some other concept sketches in my sketchbook.I am saying that the wing of this street light is inspire from butterfly not exactly as it look like but I changed it little bit for the concept design.